Pick a place close to home, stop every so often to look and listen, and write down what you actually notice. You don’t need binoculars, photos, or a species list to start. If weather, access, or safety rules out your first choice, pick another spot. Then take one walk, come home with a few clear observations, and choose a place or time to try next.
You reach a park, hear a bird somewhere in the trees, and look up. Leaves move. Something darts between branches. By the time you work out where to look, it is gone.
Missing that bird is a normal start. A short walk around a pond or along a neighborhood path gives you plenty to work with, even if you get home unable to name a single species.
Pick a nearby place and a time that suits you
A neighborhood park, a tree-lined street, a pond path, or a permitted nature trail all work. Look for a spot where you can stop without blocking anyone and see open perches, the edge of the vegetation, or water.
Daylight, weather, season, and habitat all change what you see. Morning suits many places, and a later daylight visit is fine too.
Before you leave, check the forecast, public access, terrain, and closures. If distance matters to you, look at the path surface, slope, total length, and places to sit. An eBird hotspot’s species list shows what others reported there in the past. Your visit may turn up something different.
What to bring and what to skip
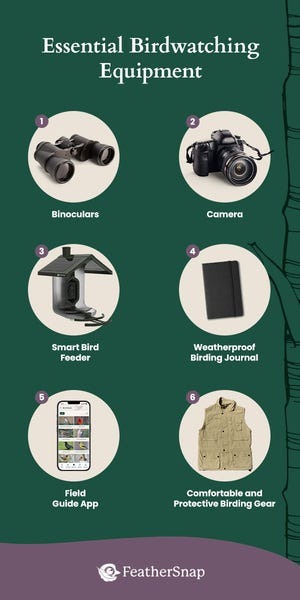
Start with your eyes, your ears, and a way to remember what you saw. Wear whatever keeps you comfortable enough to stand still and watch.
| Need | Start with | Add later |
|---|---|---|
| Comfort on the path | Shoes that suit the path and terrain | Specialized outdoor footwear |
| Weather | Layers for the conditions, and water | More weather protection for a longer outing |
| Remembering what you saw | Small notebook or phone notes | Field guide or identification app |
| Seeing far | Your eyes and a good spot to stand | Binoculars you own or have borrowed |
Binoculars bring distant field marks into view. Borrow a pair or use one you own before you buy anything. A camera is optional, and trying to frame every moving bird makes an unfamiliar outing harder.
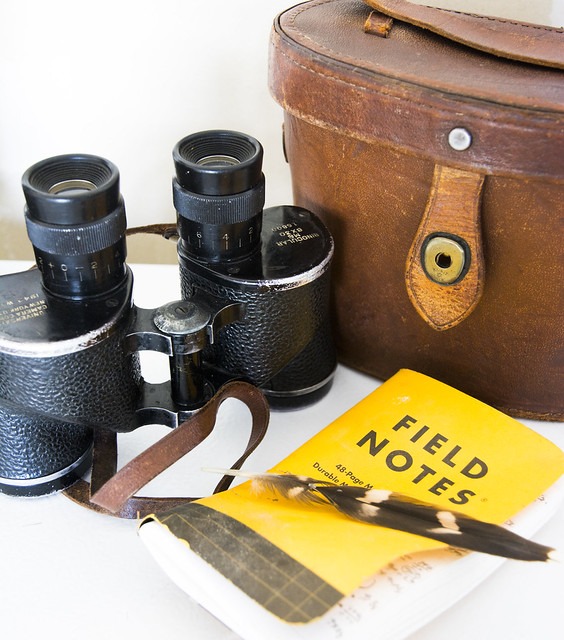
One account published by the Chicago Ornithological Society describes a first bird walk in 22°F weather. Proper footwear and warm layers mattered that day.
One r/birding contributor skips the camera and writes instead:
The only camera I have is on my old phone which takes bad pictures, so I’ve just accepted the fact that I can’t afford to have photography as part of my birding hobby. Sometimes I wish I could take a picture when I see something really cool, but there’s also something special about being completely in the moment. When I see something beautiful or exciting, I like to write about it instead.
A written description keeps the color, movement, and surroundings of an encounter, even when the bird never holds still for a photo.
The first few minutes: stop before you walk farther
Step off to the side of the path and take in the scene. Scan the ground and nearby vegetation first, then exposed branches, fence posts, the water’s edge, or the canopy, depending on the habitat. Listen for distinct calls and note their direction without rushing toward them. Then move to the next viewing point and repeat.
How to find a bird before raising your binoculars
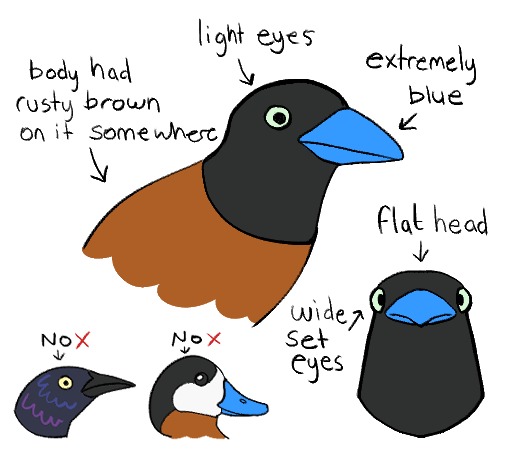
When a bird calls from dense vegetation, finding it is the hardest part. Work out the direction of the sound, then narrow your search to one layer: ground cover, shrubs, lower branches, or treetops.
Movement is your best clue. A branch shakes, a silhouette shifts, a patch of contrasting plumage flashes between leaves. Keep watching that spot until you know whether a bird caused it.
With binoculars, find the bird with your unaided eyes first. Pick a fixed reference such as a branch fork, fence post, or exposed perch. Keep looking at it as you raise the binoculars, then adjust the focus. Practice on a stationary perch before you try it on a moving bird.
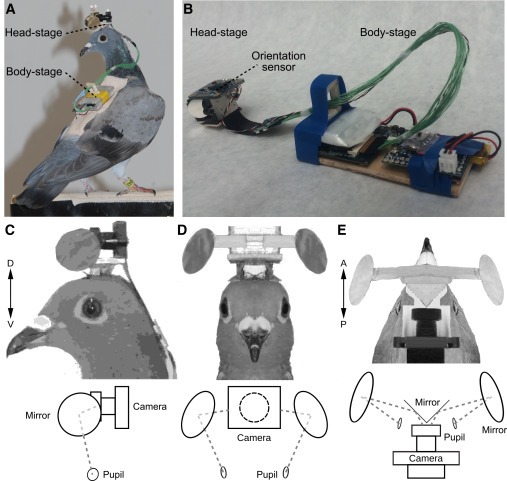
One Reddit birder had a frustrating first trail outing in the Pacific Northwest:
I have been backyard birding for 2 years now. Yesterday I went for my first birding walk on a trail, had my new binoculars out and was ready to go find some new birds. I successfully ID 1 pacific Wren. Everything else was either a flash across the trail or the shake of a branch and nothing. The Merlin app heard loads, but I didn’t see any of them. Is this how it usually goes? Is it the time of day? Any tips for catching better glimpses? In the PNW.
A clear sound can come from a bird you never see, and a bird can cross a gap in the branches before the binoculars reach your eyes.
If the bird vanishes, note where you last saw it move and what it was doing. Dense cover, backlighting, and brief appearances can leave too little to identify it by sight. For more search techniques, see how to spot birds in dense cover.
If you see a bird, hear one, or notice nothing at all
Here is what to do in each case.
| What happened | Do this | Note this |
|---|---|---|
| You saw a bird | Follow it with your eyes while it stays visible | Silhouette, markings, movement, perch or habitat |
| You heard a bird but couldn’t see it | Stay put and listen for a repeated sound | Call pattern, direction, vegetation layer |
| You saw and heard nothing identifiable | Try another viewing point or finish the walk | Habitat, weather, visibility and listening conditions |
A bird crossing an opening between trees might show a long tail and dipping flight even when its head markings stay hidden. That is enough to write down.
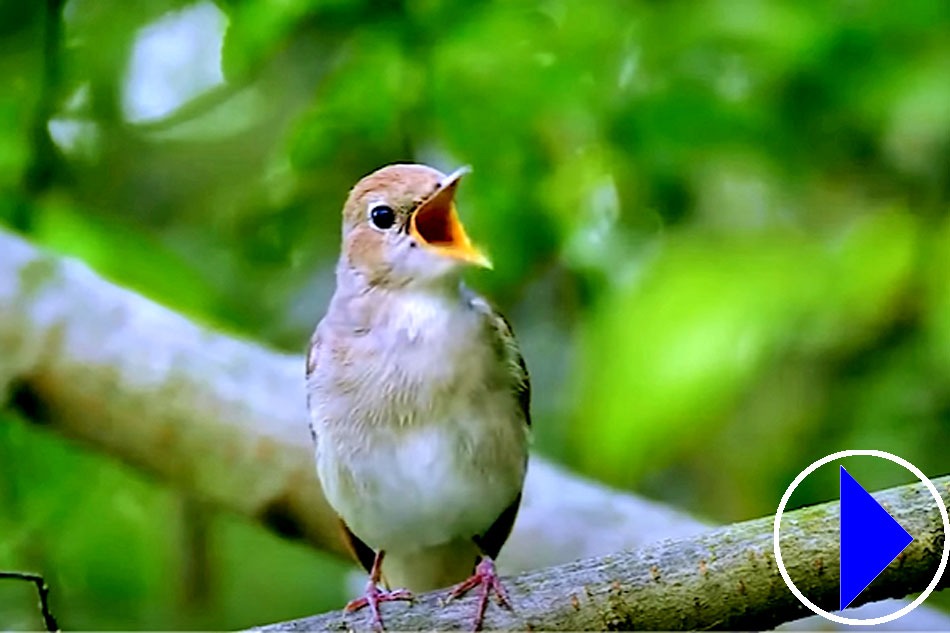
Some walks stay quiet. Wind, thick leaves, or a blocked view hide a lot, and an empty species list is fine.
Identify what you can and leave the rest uncertain
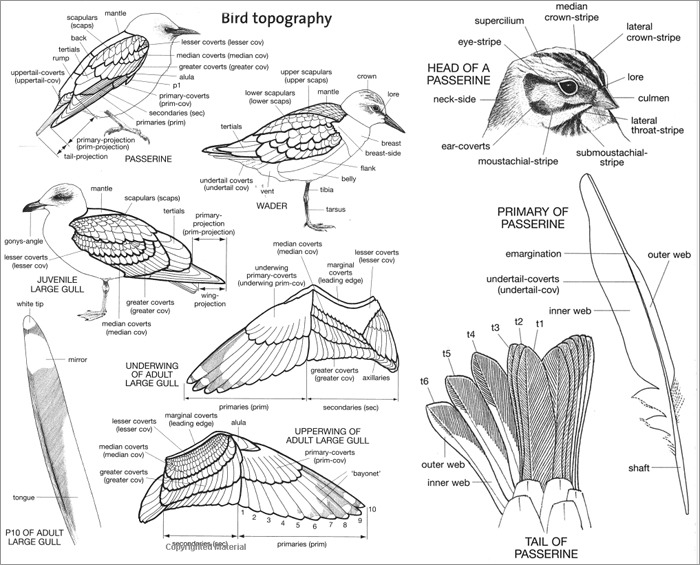
Once a bird is in view, describe what you see. Cornell Lab of Ornithology teaches four keys to bird identification: size and shape, color pattern, behavior, and habitat. Used together, they narrow the field, because one impression such as “small and yellow” fits several species.
- Size and shape: Was the bird compact or long-bodied? Did its bill, head, or tail have a distinctive outline?
- Color pattern: Where were the prominent light and dark areas? Could you see markings on the head, wings, chest, or tail?
- Behavior: Was it hopping on the ground, climbing along a tree, holding still on a perch, or moving through reeds?
- Habitat: Was the bird in open water, dense shrubs, a wooded edge, or somewhere else?
Combine these with geographic range and season to narrow down the possible species. An identification app can help. Merlin Bird ID’s Sound ID feature, for instance, suggests species from detected sounds.
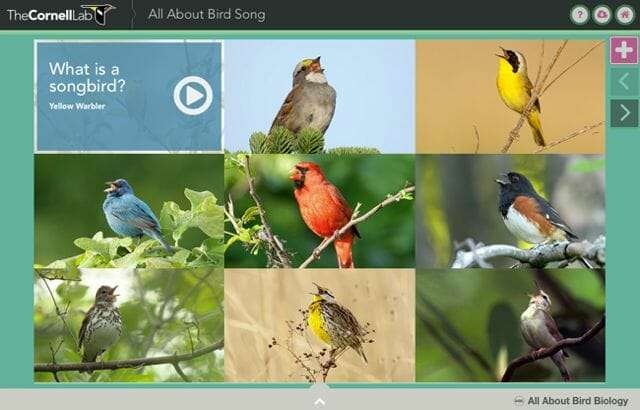
Say Merlin names a species while the caller stays hidden in shrubs. Compare its example recordings with what you heard, then check habitat, range, season, and any behavior or visible features, as Cornell’s Merlin Sound ID best practices recommend. If the match holds, you can identify the species by sound alone. If it doesn’t, keep the bird unnamed.
For field marks and lookalikes, see the guide to identifying birds by shape, color, behavior, and habitat.
Keep a field note you can trust later
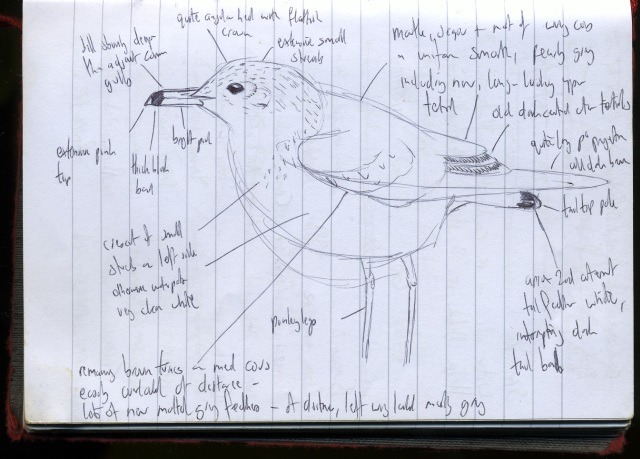
A field note records the circumstances and clues before memory fades. A few precise details make an unfamiliar bird recognizable later.
Write down the location and date, the approximate time, the habitat, and the traits you saw or heard yourself. Keep a possible species name separate from a confirmed one.
Here is an invented sample note to show the format:
Local pond path, late afternoon. Small dark bird on a low branch. Rapid tail dips. Pale underside visible briefly. Moved into reeds. Species not determined.
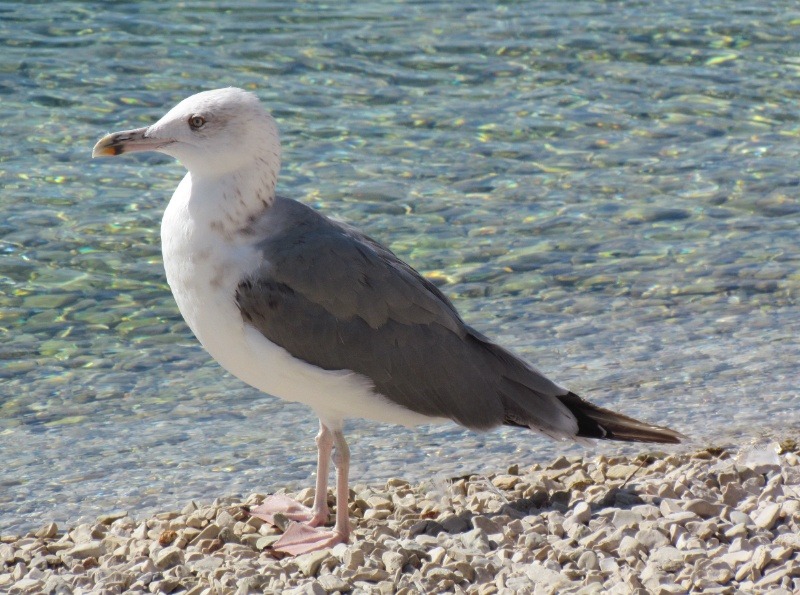
To contribute sightings to eBird, record the actual location, date, start time, duration, and observation effort. Cornell’s eBird checklist instructions explain how effort and checklist completeness are recorded.
A complete eBird checklist means birding was your primary purpose and you reported every species you could identify to the best of your ability, by sight or sound. Unidentified birds do not make it incomplete. For each species, enter a count or reasonable estimate. eBird allows X when you can’t do either.
A paper notebook works just as well if you never submit a checklist. Entry details are in the guide to recording bird sightings without guessing.
Go alone or join a beginner bird walk?
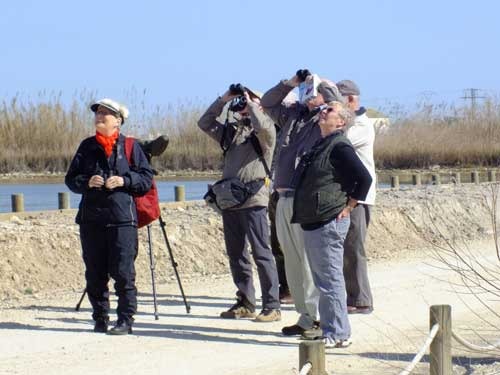
Both work. A solo walk lets you set the pace and stay as long as you like at one spot. On a beginner walk, the people around you spot movement quickly, recognize local calls, and explain what they see.
One first-timer on Reddit, fresh from a guided walk, asked about binoculars right away:
I just want to say I went on my first guided birding walk and it was amazing!! We saw two bald eagles right off the bat! Later saw a screech owl. A barred owl flew right over our heads and landed in a tree right in front of us. Despite it being dark we had a perfect view. We were looking for woodcocks but we ended up seeing much more than we hoped for!! I definitely have a new hobby. Any recommendations on cheap beginner binoculars? We’re on a tight tight budget so anything under $50 is preferable, just until we can save up enough for something nice

Before you sign up for a group walk, confirm the meeting point, registration rules, walking distance, accessibility, and equipment expectations. Some organizers lend binoculars, so ask.
Leave the birds undisturbed
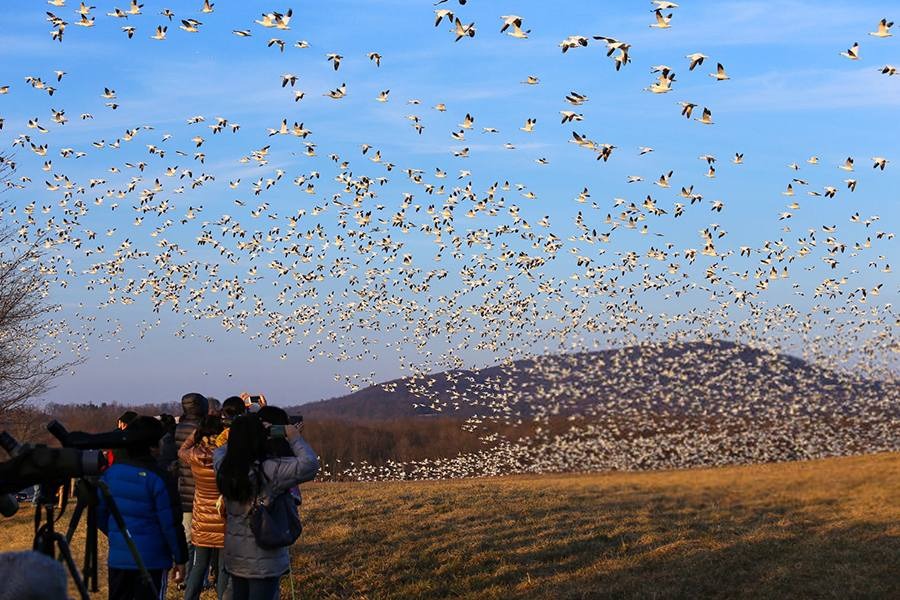
The ABA Code of Birding Ethics calls for minimizing disturbance, respecting habitat, observing access restrictions, and using restraint with recordings and other techniques that could affect bird behavior.
If a bird looks alarmed or changes its behavior as you approach, move back and give it space. Keep clear of active nests and sensitive habitat, stay on permitted paths, and don’t play recorded calls to pull a bird into view. The checks for nesting sites, approach distance, and recorded calls are in ethical birdwatching around sensitive birds.