For general birdwatching, start with a comfortable 8×42, or a lighter 8×30/32 if you spend long days walking. Choose 10×42 when distant detail matters and you can hold the view steady. Whatever size you pick, the view should be full and comfortable, the focus should feel natural, and the seller should take returns if the fit turns out wrong.
A bird pauses among the branches just long enough to show a flash of color. By the time you’ve raised your binoculars and found the right patch of leaves, it’s gone. A pair with great optics still fails you if it’s slow to aim and focus.
Start with where you watch and what you carry. Specs narrow the field. Eye fit, handling and return terms decide the rest.
Pick the Size for the Birding You Actually Do

An 8× binocular is a good starting point for mixed habitats: parks, backyard feeders and wooded paths. It gives you a wide view and manageable magnification in the hand while birds move from perch to perch.
| Where you watch | Format to consider | Main advantage | Trade-off |
|---|---|---|---|
| Woods and local parks | 8×42 | Versatile handheld view with full-size objectives | Heavier |
| Long hikes and travel | 8×30 or 8×32 | Less to carry | Dim-light comfort and eyepiece fit |
| Open shore or distant raptors | 10×42 | More magnification | Shake and a narrower view |
| Backyard feeders and short walks | 8×30/32 or 8×42 | Flexible in the hand | Minimum focus distance |
Binoculars with the same label can still differ in field of view, eyecups, focusing controls and balance.
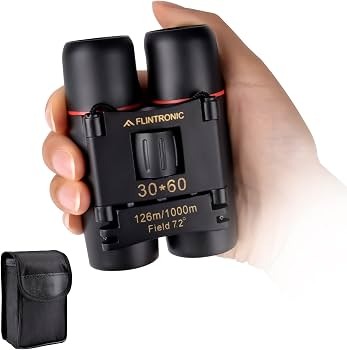
One hiker explained how a photography kit and a creeping budget narrowed the choice:
This week I spent too much time reading/watching review for the binoculars. I have tried too many by now and the more I try, the more confused I get and the more my budget for binos is creeping up. My main use would be hiking/wildlife/birding I do carry an mft photography kit with me, and I need a pair of binos for me when I’m alone, or my wife to enjoy the view when I’m taking pictures. I would extend the use to everything else I do as well, travels, safaries or even spotting wildlife from the boat when diving. I am also interested in astro, but decided that it cannot be a priority vs compactness After ages of research and overthinking I decided to commit to a 8×30/32 compact pair, since the plan is to carry it everywhere.
The camera kit gave that person a concrete reason to go small.
Understand What 8×42, 8×30, and 10×42 Mean
The first number is magnification. An 8× binocular makes a subject appear eight times larger in angular terms than it does to the unaided eye. The second number is the diameter of the front objective lenses in millimeters.
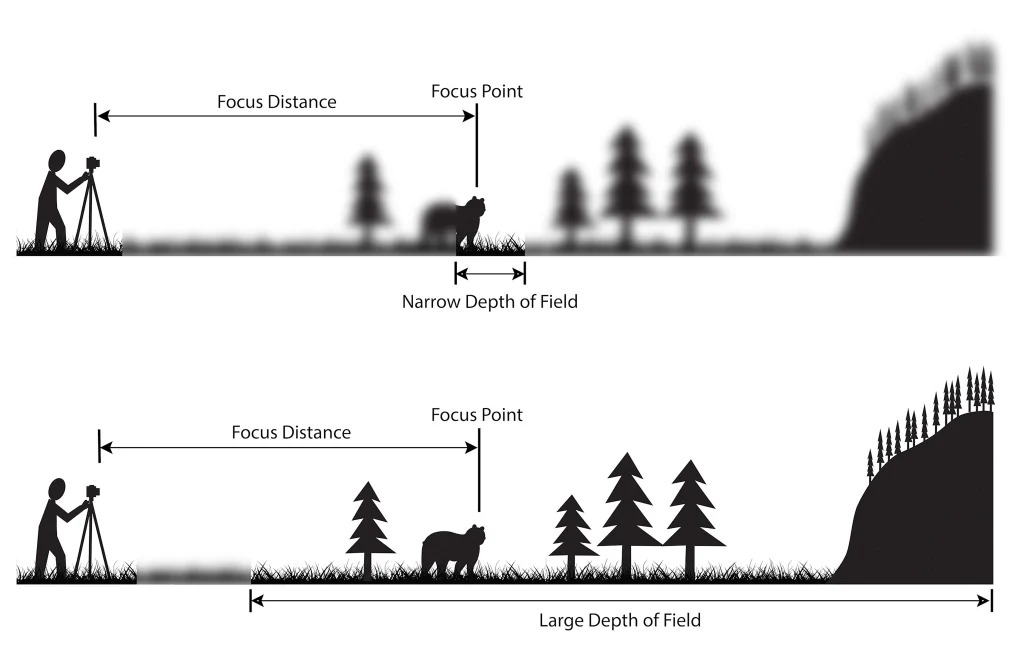
A 10×42 has the same objective diameter as an 8×42 and more magnification. That extra scale helps with distant features when the view stays steady. Higher power also magnifies hand shake.
Larger objectives gather more light. Coatings and optical transmission decide how much of it reaches your eye.
A same-family specification comparison
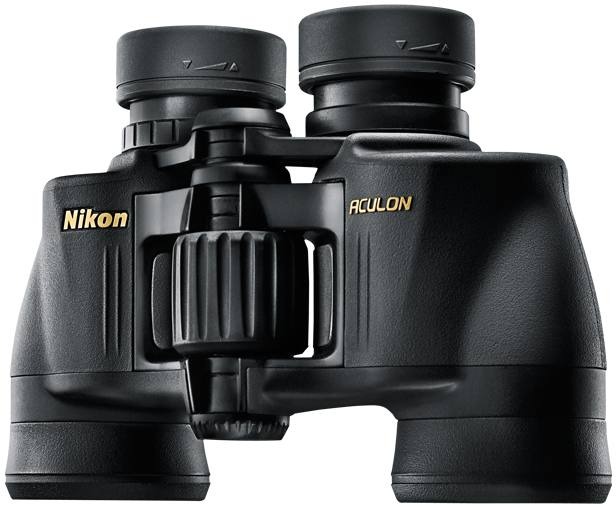
Nikon publishes values for three MONARCH M7 models. Side by side, they show that field width, weight and close focus change from model to model, independent of magnification.
| Specification | M7 8×42 | M7 10×42 | M7 8×30 |
|---|---|---|---|
| Magnification | 8× | 10× | 8× |
| Objective diameter | 42 mm | 42 mm | 30 mm |
| Real angular field | 8.3° | 6.9° | 8.3° |
| Field at 1,000 yd | 435 ft | 362 ft | 435 ft |
| Eye relief | 17.1 mm | 16.5 mm | 15.1 mm |
| Minimum focus | 8.2 ft | 8.2 ft | 6.6 ft |
| Weight | 23.6 oz | 24.0 oz | 16.4 oz |
| Calculated exit pupil | 5.25 mm | 4.2 mm | 3.75 mm |
| Published exit pupil, rounded | 5.3 mm | 4.2 mm | 3.8 mm |
| Interpupillary distance adjustment | 56 to 72 mm | 56 to 72 mm | 56 to 72 mm |
| Waterproof specification | Up to 1 m for 10 min | Up to 1 m for 10 min | Up to 1 m for 10 min |
| Fogproof designation | Yes | Yes | Yes |
These are published manufacturer specifications from Nikon’s MONARCH M5/M7 announcement. Nikon states that the waterproof construction is not designed for underwater use.
Within this series, the 8×42 has a stated field 73 feet wider at 1,000 yards than the 10×42. The 8×30 matches the 8×42’s stated field, weighs 7.2 ounces less and focuses 1.6 feet closer.
If you already carry a camera, Nikon’s MONARCH M7 8×30 is one model to try while you judge the combined load.
What exit pupil adds
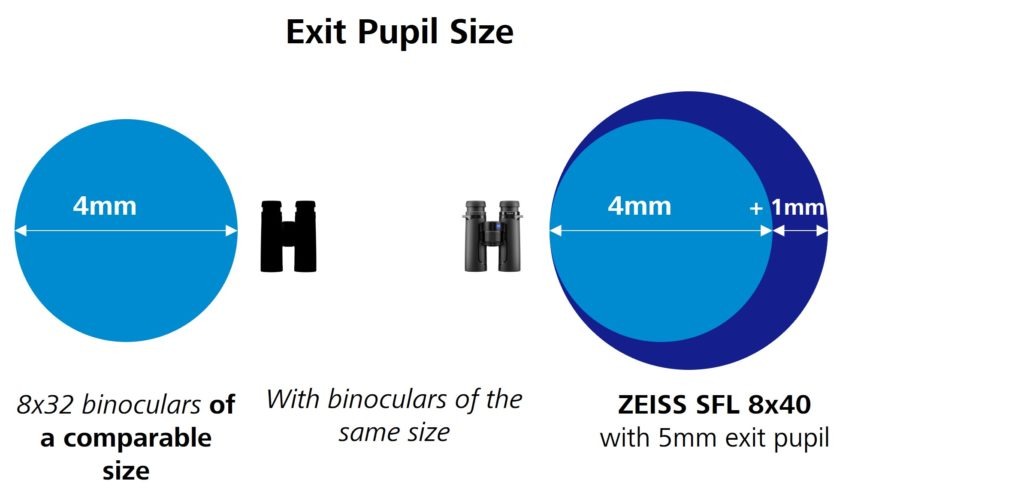
Exit pupil is the objective diameter divided by magnification. It’s the width of the light beam leaving the eyepiece. A larger exit pupil makes eye placement more forgiving and helps in dim light.
For your shortlist, compare the same columns on the official product sheets, keeping field width in the same units and close focus in the same distance units.
Check Eye Relief and Fit With Your Glasses
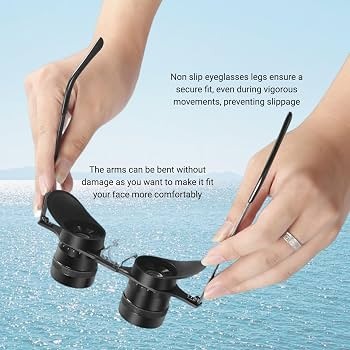
Eye relief is the distance from the eyepiece at which you see the full circle of view. Glasses push your eyes farther back, so eye relief and eyecup design matter more.
Frames and lenses differ, so two people can see different amounts of the field through the same model, even when the published eye relief looks generous.
A first-time shopper laid out the problem of glasses, weight and a tight budget:
I’ve never owned a pair of binoculars but want to get some to bring along on a hiking trip next year (as well as to baseball games and the opera haha). Looking for something light and not TOO expensive (ideally under $200 if possible), but I wear glasses and it seems like decent eye relief increases both the price and weight. Got any recs?
A full-field fit check
Wear the glasses you normally wear on a bird walk. Audubon’s binocular-selection guidance explains how eyecup position and eye relief affect the usable field.
- Position the eyecups. Lower them if you wear glasses. Extend them if you don’t.
- Set the barrel spacing. Adjust interpupillary distance until the two images merge into one comfortable circle.
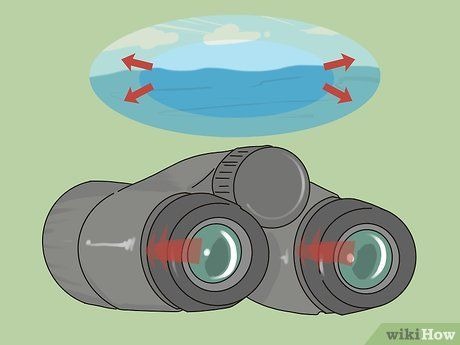
- Inspect the edge. Look for a complete circle with no cropped edges while you hold your head and glasses naturally.
- Move your eyes and head slightly. Black crescents that keep returning, rolling blackouts or the need to press your face into the eyepieces mean a bad fit.
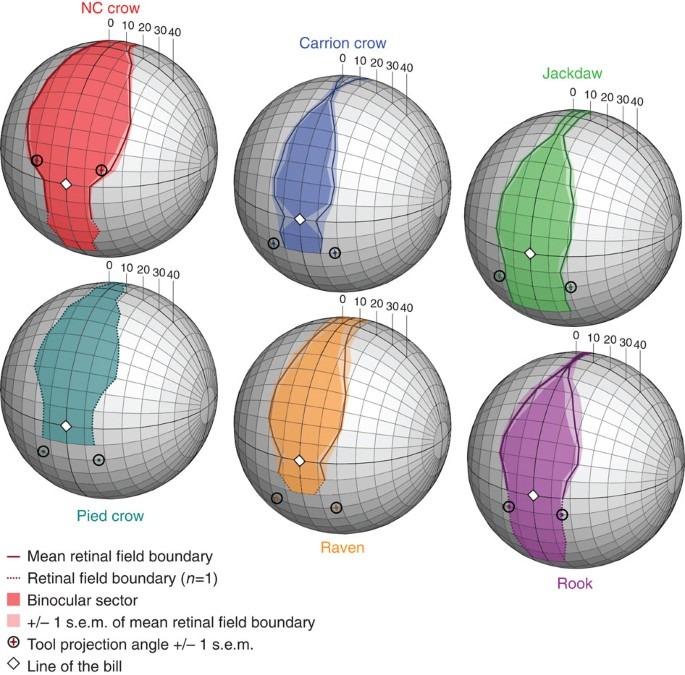
Even without glasses, you get blackouts when your eye sits too close to or too far from the eyepiece.
If the edges keep disappearing when you hold the binoculars comfortably, drop that model from your shortlist, even if its spec sheet advertises generous eye relief.
Compare Field of View and Close Focus
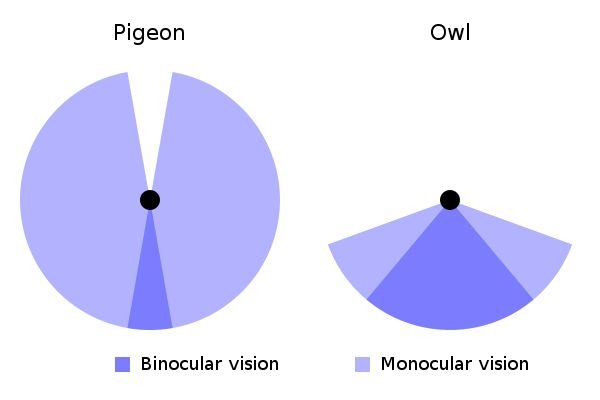
Real field of view is how much of the scene you see at once. A wider field makes it easier to find a warbler slipping between branches or follow a bird that changes direction. For more on magnification, field of view and eye relief, see the birdwatching gear guide.
Manufacturers state real field in degrees or in feet at 1,000 yards. Apparent field of view is a different measurement, so compare matching units and definitions. Cornell Lab’s field-of-view guide explains how width affects locating and following birds.
Close focus is the nearest distance at which the optics can bring a subject into focus. A backyard feeder or butterfly inside that limit stays blurry no matter how far you turn the focus wheel.
In the Nikon comparison, the 8×42 and 8×30 list the same field width and different minimum focus distances. A feeder 7 feet away stays blurry in the 8×42 (8.2 ft minimum) and comes into focus in the 8×30 (6.6 ft). If you often watch subjects closer than a pair’s minimum focus, rule it out.
Check edge softness, color fringing and glare in hand. Spec sheets don’t show them.
Give Each Finalist a Real-World Viewing Test
Focus and balance show up when you switch between subjects. Test each pair under the same conditions and in your normal viewing posture.
Cornell’s six-step binocular guidance covers focusing, scanning comfort, balance, eye position and view quality.
A short, repeatable screening sequence
- Find a distant subject. Lower the binoculars, locate a stationary target with your eyes, then raise them and see how quickly you find the same object.
- Follow movement. Track a moving subject or sweep between visible branches. Notice how easily you keep it centered.
- Shift near to far. Focus from a nearby safe target to a farther one and back. The wheel should turn easily and not make you overshoot.
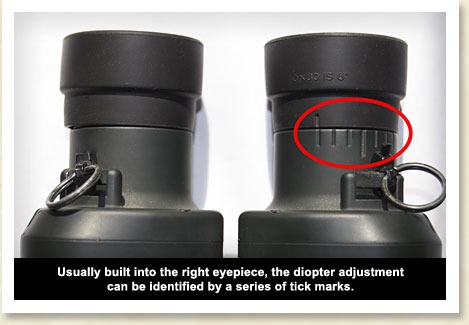
- Set the diopter. On a model with a right-eye diopter, close your right eye and focus on a stationary subject with your left eye using the center wheel. Then close your left eye, open your right, and sharpen the same subject using the diopter. If the diopter is on the left, reverse the eyes. This balances your eyes before you compare clarity.
- Change viewing angle. Look up as you would toward a bird in a tree, then return to level. Notice hand shake, balance and how tiring it is to hold the binoculars up.
- Inspect the picture. Compare central clarity, edge softness, glare and color fringing on the same high-contrast stationary subject under similar light.
Never point binoculars at or near the sun.
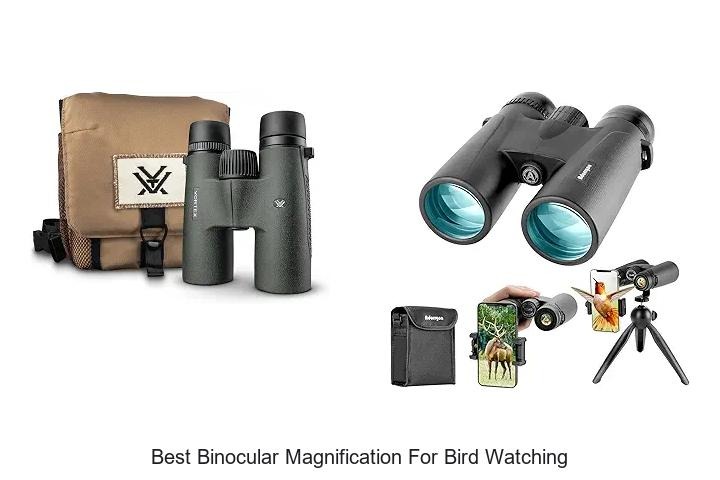
Mark each pair pass, concern or reject. A wheel that takes a minute to learn is a concern. Recurring discomfort or a view you can’t hold steady is a reason to reject. An indoor trial shows obvious problems, but low light, wet weather and fatigue on a long walk are harder to reproduce.
Spend for Usable Performance
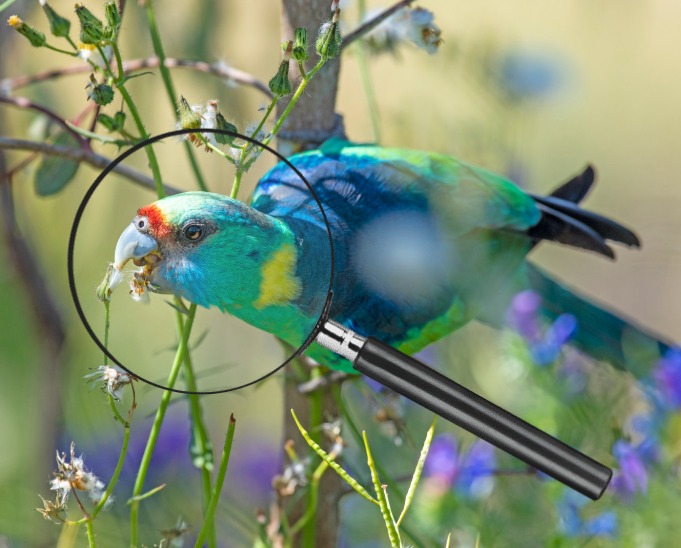
Decide the minimum you’ll accept in view, fit, focus feel and weight. Set a spending ceiling that leaves room to reject an uncomfortable pair, even if a pricier one carries impressive optical terms.
ED glass, HD labels, phase coatings and prism-design claims are worth paying for only when you can see or feel the benefit in your birding conditions: a clearer image, easier focusing, more comfortable eyepieces or a more practical body. Keep an affordable pair in contention until a pricier model shows that kind of improvement.
Consider Weight, Weather Protection, and Carrying Comfort
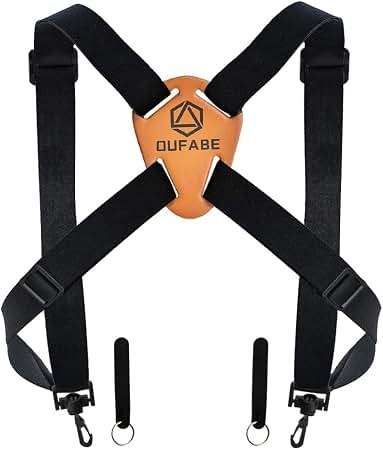
Carrying comfort depends on the binoculars, their balance and what supports them. The same weight feels different on a neck strap, across a harness or in the hand on an uphill walk.
A buyer happy with a new budget pair ran into a problem with the strap:
Update!!! I ended up getting the Nikon P3s because they were in my budget and I did the price match. $109CAD was too good to pass up! Wow the difference is incredible already. I was using used binos from the birding backpack I borrow from my library and they were clearly dirty or something or just not my ideal ergos. These guys are lightweight, clear, and easy to adjust. My sole complaint is the neck strap is GARBAGE so I will be replacing that. Thanks for all the help everyone!
Try the supplied strap or harness on an ordinary walk before you judge carrying comfort. The checks for habitat, field notes, and binoculars are in your First Birdwatching Walk: What to Do and Notice.
Check weather protection model by model. Rubber armor improves grip and protects the outside, but only the manufacturer’s spec says whether a model is waterproof or fogproof. Fogproof construction aims to keep moisture from condensing inside the sealed optics. Outer lenses can still mist when temperature or humidity changes.
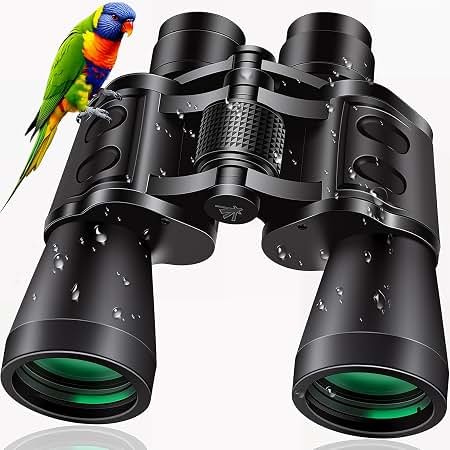
If you watch birds in the rain regularly, sealing matters more to you than it does for short, dry outings.
Check the Return Terms Before You Buy
For an untried pair, a written return policy can decide whether the purchase is worth the risk. A manufacturer warranty covers specified defects. A return because the fit or focus feels wrong depends on the retailer’s conditions.
A birder weighing a costly purchase with nowhere local to try the model put the uncertainty bluntly:
I picked a pair on a whim last time and it wound up working out but I’ve seen a lot of people saying they purchased a new pair and didn’t feel it was a good fit. I don’t think they’re returnable unless unopened and this is a much bigger cost for me to eat if I can’t return them. I don’t think they’re physically in stock anywhere around me for me to actually try so what do people normally do? Just wing it and hope for the best? Or am I misunderstanding return policies? Nikon’s website says unused and unopened but I won’t order from there anyway since this model is on back order in Canada. So do you guys just buy and pray, or what? Am I missing something?
That buyer was shopping in Canada. If you buy in the U.S., read the seller’s current written return policy for that exact item.
Before ordering, check whether an opened, tested pair can be returned, how long the window lasts, what condition the item must be in, and whether shipping or restocking fees apply. Save the written terms. If the terms are vague and you haven’t tried the pair, don’t order yet.
Make the Final Choice From What You Have Checked
Buy the pair that passes your checks. Retest if a concern looks fixable, and stop if a critical requirement stays unresolved.